Configuring Pulsar to run Salesforce Field Service (SFS)
- Vikas Verma
- Carla Locke
- geevall
Note: Salesforce Field Service must be configured in the org that you install Pulsar for FSL. Refer to Set Up Field Service for more information about setting up Field Service.
- Follow the instructions listed in the section Pulsar Premium Installation Guide to install the package.
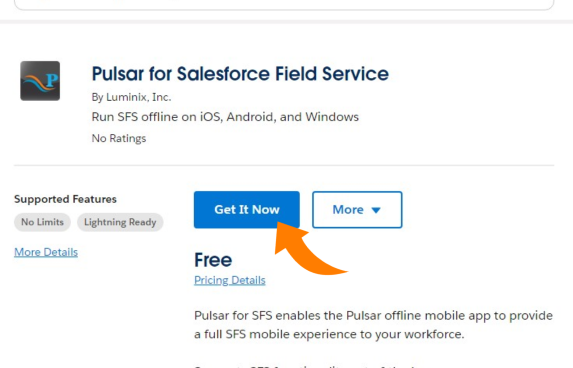
- Install Pulsar for Field Service
- Go to AppExchange: https://appexchange.salesforce.com/appxListingDetail?listingId=a0N3A00000FR68gUAD and click Get it Now.
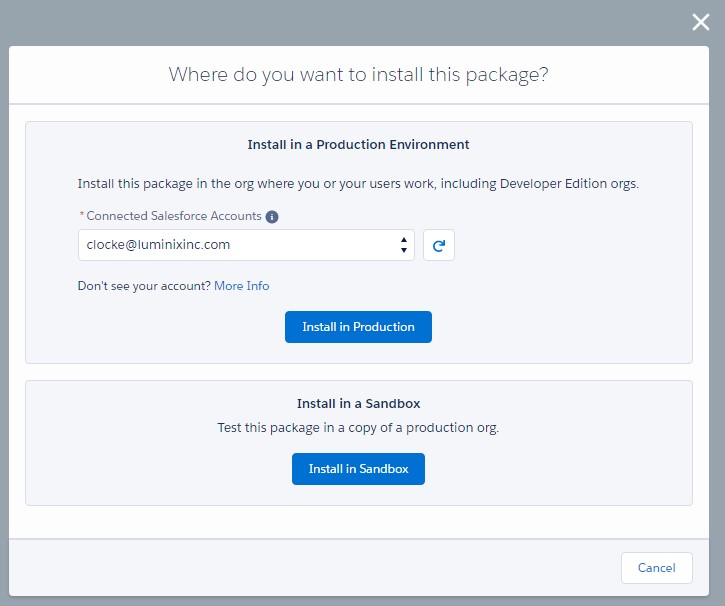
- Select the installation environment.
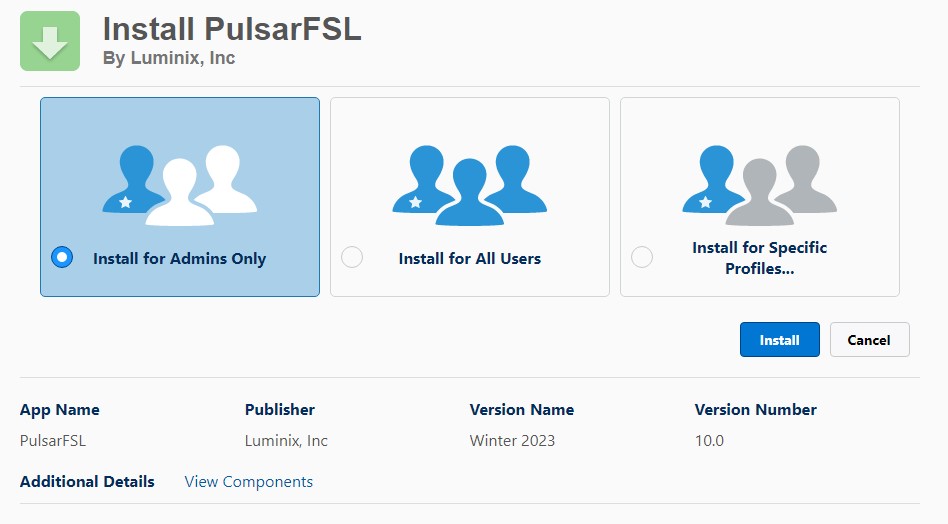
- Confirm the installation details and review the terms and conditions. Check the box to agree with the terms and conditions and click Confirm Installation.
.png?version=1&modificationDate=1678904476243&cacheVersion=1&api=v2)
- Log into Salesforce if prompted.
- Select the type of installation and click Install.
- Go to AppExchange: https://appexchange.salesforce.com/appxListingDetail?listingId=a0N3A00000FR68gUAD and click Get it Now.
- Click on AppLauncher and find Pulsar for FSL app
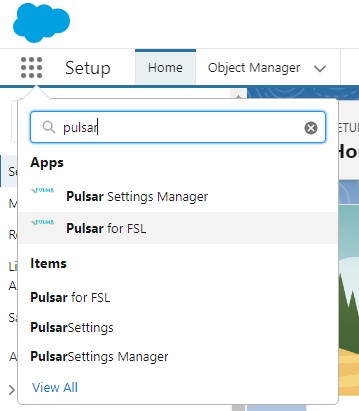
- Click on the Pulsar for SFS tab
.png?version=1&modificationDate=1678906870598&cacheVersion=1&api=v2)
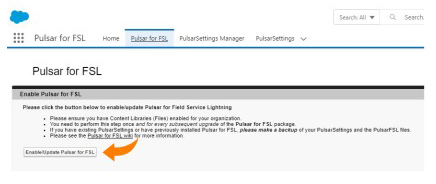
- Click on Enable/Update Pulsar for SFS
Note: Please note that if the user installing the package is not the user that will test the SFS package, please make sure to grant the permissions first as described below.
You need to grant the following permissions to the users.
- Go To Files → Content Libraries and Locate the PulsarFSL directory and make sure all of the user groups that need access to Pulsar have read permission on this directory
- For each user, assign the Pulsar Settings Read Only Permission
- Assign licenses by going to Set up → Installed Packages → Pulsar Settings → Assign Licenses
Install the Pulsar for Salesforce app on your device and login using your Salesforce credentials and let the initial sync finish and you should see SFS as the home page. Follow the instructions here to install it on your windows device. Pulsar App - Installation Process - Windows
NOTE: Pulsar will sync core SFS objects out of the box. If you have other standard or custom objects in related lists or have quick actions and flows using them, please make sure to add these to the pulsar.sync.objects setting that was created when you installed the Pulsar for SFS package. You could also switch the pulsar.sync.objects setting out with our relationship sync setting (pulsar.sync.relationship.directives) if that is preferred. This will require you understanding how to set up the relationships. The relationship sync setting is documented here: Data Sync Settings
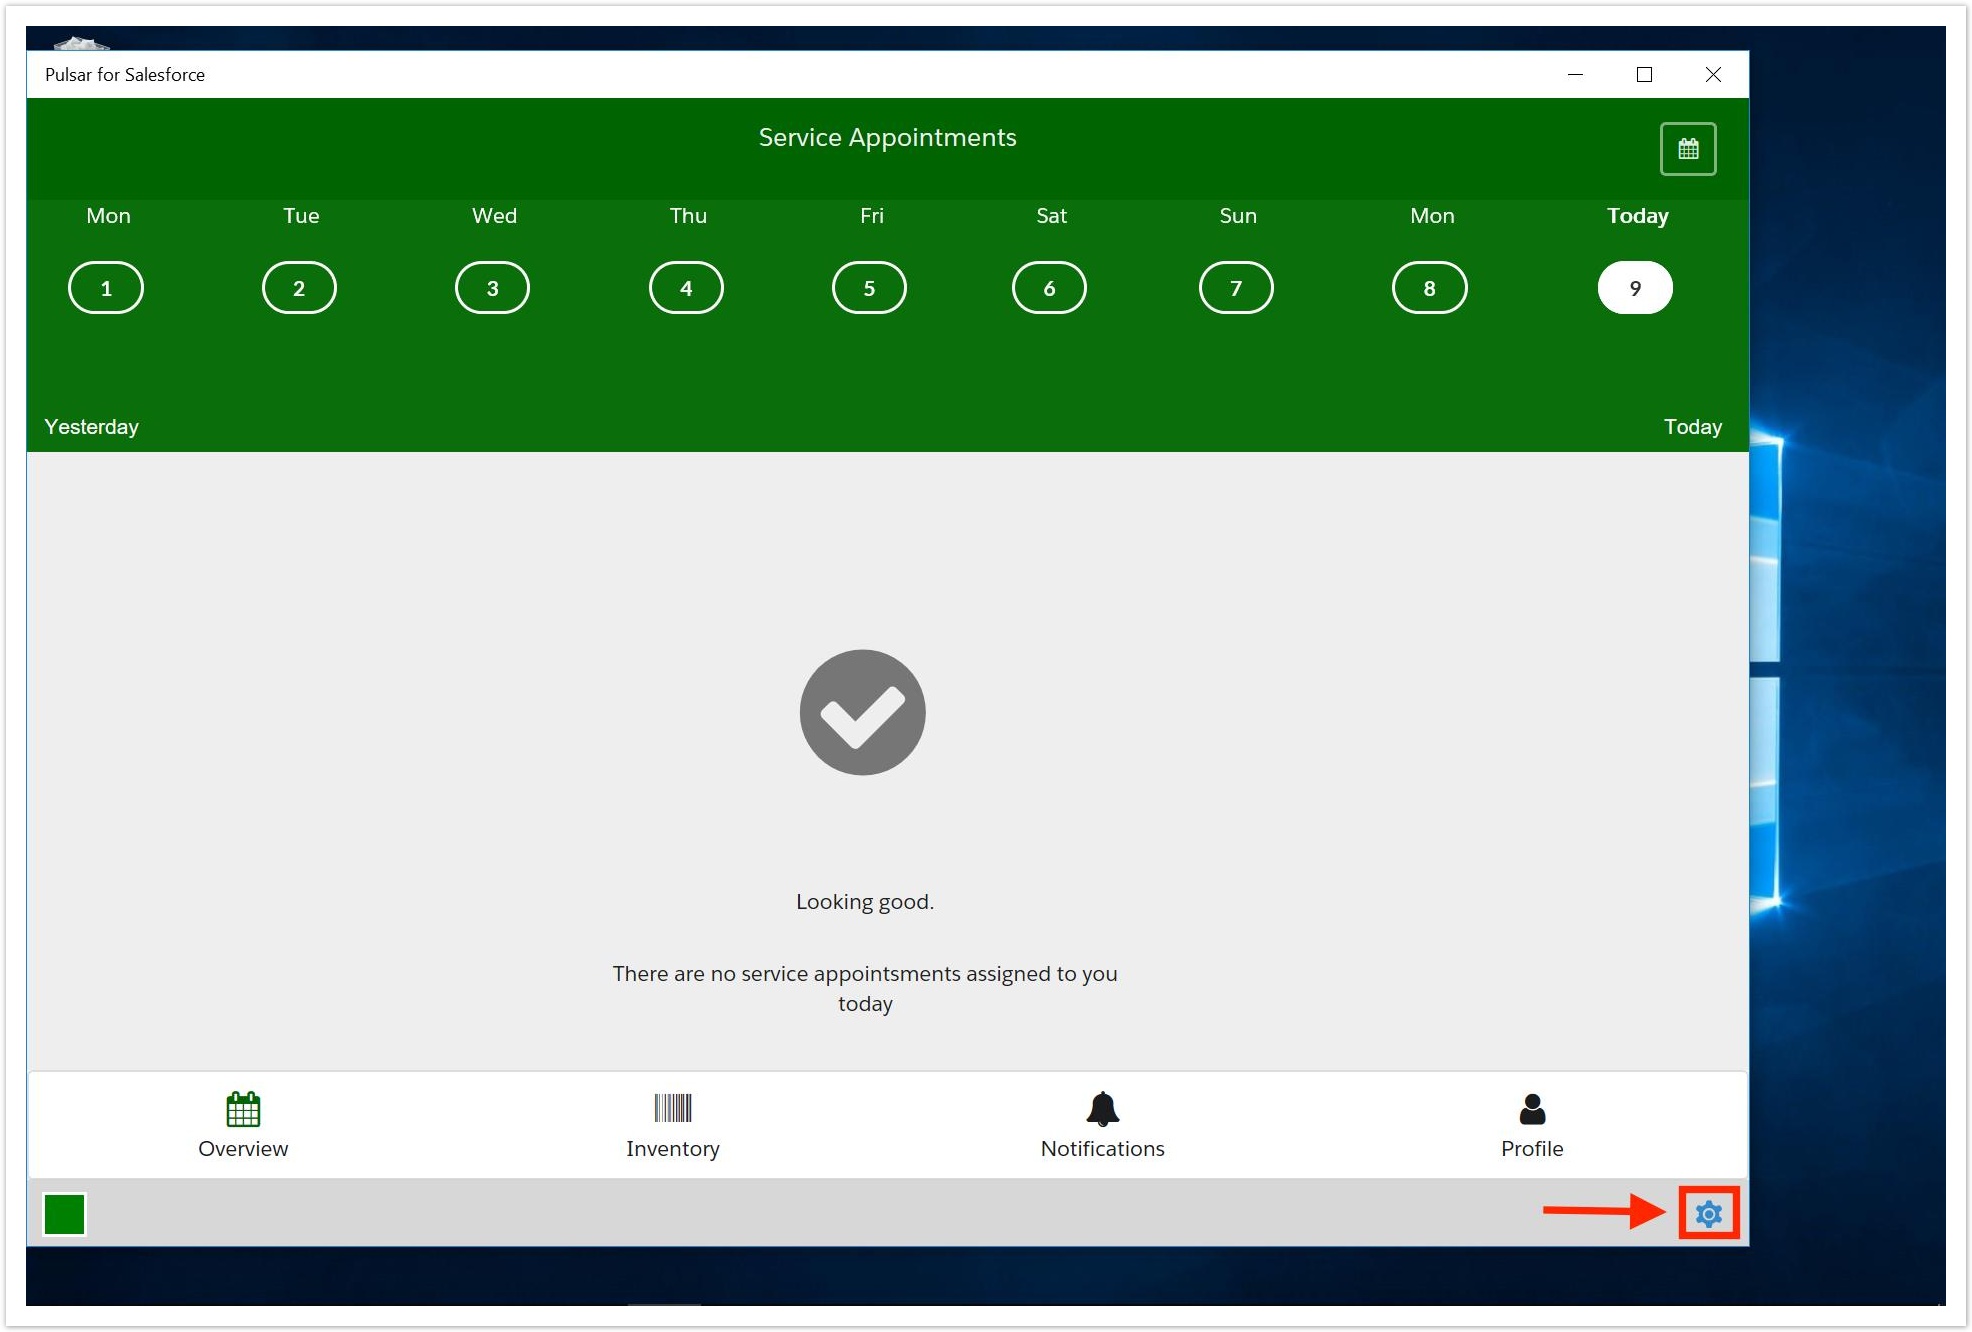
- Once you login to Pulsar, after completing all previous steps, you should see the below screen.
- In case you do not see the below screen, you should do the following
- Click Settings icon (on bottom right)
- Click on Refresh Settings